What to Do With Photo Booth Strips: 14 Ideas to Display, Protect and Share Them
Wondering what to do with photo booth strips? Here are 14 ideas to frame, hang, carry and protect them, plus easy tips to stop your prints from fading.
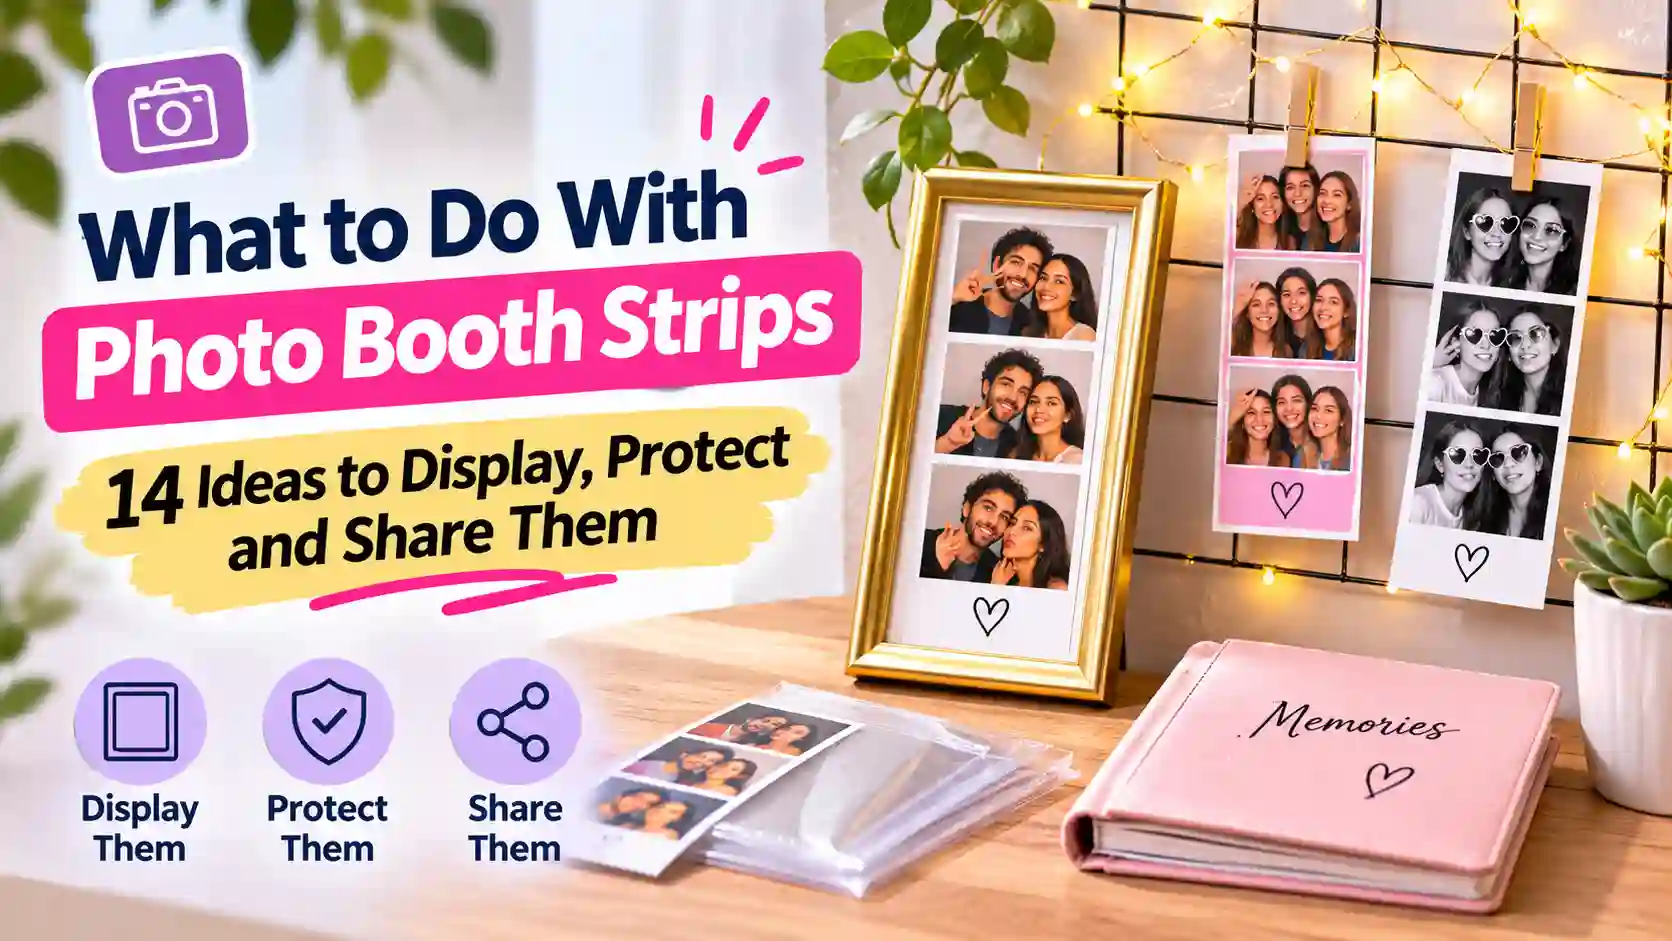
The best things to do with photo booth strips are to frame them, hang them up and carry one with you. You can also protect the rest in acid-free sleeves or share copies as gifts, and each idea takes only a few minutes.
Most strips have a sadder story, though, because they rarely leave the drawer once the party ends. You bring one home from a wedding, a prom or a Life Four Cut booth in Seoul, and it sits on the fridge. A week later, it slides into a drawer and curls up next to old receipts. The 14 ideas below fix that problem, and they work with photo booth strips from any booth. That includes the free ones you make in your browser on TryPhotoBooth.
14 Photo Strip Display Ideas at a Glance
Here are all 14 photo strip display ideas in one quick list.
| Idea | Best for |
|---|---|
| 1. Magnetic fridge or mirror frame | Everyday smiles |
| 2. Clothespins and fairy lights | Bedrooms |
| 3. Strip frame | A single favorite |
| 4. Gallery wall or collage mat | Big collections |
| 5. Shadow box | Weddings |
| 6. Desk or key holder frame | Couples |
| 7. Phone case | Daily carry |
| 8. Wallet or bookmark | Readers |
| 9. Scrapbook or photo journal | Weekly memories |
| 10. Archival memory box | Long-term storage |
| 11. Scan and back up | Every strip |
| 12. Card or thank-you note | Birthdays |
| 13. Guest book | Wedding guests |
| 14. Collage or ornament | Hosts |
Why Photo Booth Prints Are Worth Keeping
Photo booth prints are worth keeping because a print has a place in your home, while a phone photo gets buried. You may never scroll back to the hundreds of shots on your camera roll, but a strip on the fridge gets seen every morning.
This habit of keeping a small paper copy is almost a hundred years old. The first photo booth appeared on Broadway in New York City in 1925. Anatol Josepho's machine printed 8 photos for 25 cents, and about 280,000 people used it in its first six months. The love for photo booth strips is even bigger today, and the Korean chain Life Four Cuts reports 120 million visits since 2017. You can read the full story in our history of the photo booth.
How to Display Photo Booth Strips at Home
The safest way to display photo booth strips at home is in a frame, sleeve or clip, never with tape on the photo. Keep them away from sunny windows and swap them now and then, because NEDCC says rotating displays are better for prints.
1. Fridge or Mirror With a Magnetic Strip Frame
Your fridge door becomes a safe display spot once you add a magnetic strip frame. These clear magnetic sleeves slide over a strip and stick to the fridge door or a metal mirror frame, so you never need tape. You can find them on Amazon or Etsy for about $3 to $10. The Vintage Polaroid layout on TryPhotoBooth looks great here, because its date stamp shows when the night happened.
2. String, Mini Clothespins and Fairy Lights
The easiest way to show lots of strips at once is a string of mini clothespins with LED fairy lights. Run twine or the light string above your bed, desk or dorm mirror. Then clip each strip at the top white border, so the clips never touch a face. The Classic 3-pose strip with the Y2K filter gives the wall a warm, film-camera feel that matches the soft glow. For more retro looks, see our Y2K photo booth aesthetic guide.
3. Photo Booth Strip Frame (How to Frame Photo Booth Strips)
Your single favorite strip deserves its own strip-sized frame. Here is how to frame photo booth strips so they stay flat and bright for years:
- Measure your strip first, since many booths print strips around 2x6 inches, but older and Korean booths can differ.
- Pick a strip-slot or 2x6 frame in wood or acrylic, which you can find on Etsy or Amazon.
- Add an acid-free mat to protect the print.
- Hold the strip in place with photo corners instead of glue or tape.
- Hang the frame on a wall that never gets direct sun.
For a new print, the Korean 4-cut layout downloaded at 300 DPI gives the sharpest result.
4. Strip Gallery Wall or Collage Mat
Once you have a big stack of strips from many different nights, turn them into a gallery wall. Instead of taping them to the wall, place them in one large frame with a multi-opening mat. Clips on a slim picture rail work well too. Skip the tape, because the Library of Congress advises against any adhesive on photographs. Mixing layouts like the 2x2 collage and the 4-cut keeps the wall fun, and one frame color makes it look planned.
5. Shadow Box With Event Keepsakes
With a shadow box, you can keep a strip together with the little things from the same night. You can put a wedding strip next to a cork from the toast and a pressed flower from the bouquet. Your prom strip pairs well with your ticket stub and wristband, and a Class of 2027 graduation strip looks great beside your cap's tassel. Deep shadow boxes usually cost about $15 to $30. Most have a soft backing, so you can pin the extras and hold the strip in photo corners.
6. Desk, Monitor Edge or Key Holder Frame
Put a strip where you look every day with a desk frame, a clip-on monitor frame or a key holder frame by the door. Couples love the Hearts strip on TryPhotoBooth for this spot, since the little hearts look sweet next to two sets of keys.
Ideas for Keeping Photo Booth Strips Close and Safe
The smart way to keep photo booth strips close and safe is to carry a copy and protect the original. Print a second copy for your phone case or wallet, and then store the first one where light and damp can't reach it.
7. Behind a Clear Phone Case
Fans of Korean photo booths like Life Four Cut and Photoism in Seoul love tucking a strip behind a clear phone case. Most phones are too short for a full strip, so cut a copy down to two frames and keep the original at home.
8. In Your Wallet or as a Bookmark
Your wallet's card slot and the pages of a book both hold a strip neatly. For a bookmark, run a copy through a laminating pouch so it survives coffee spills and backpacks. Never laminate your only print, though, because lamination can't be undone. In a wallet, a plain clear card sleeve keeps the edges from bending as you pull cards in and out.
9. In a Scrapbook or Photo Journal
In a scrapbook or photo journal, each strip gets its own page and its own story. Pick an acid-free album and skip the cheap ones with "magnetic" sticky pages, which the Library of Congress tells you to avoid. Hold each strip with photo corners and write one line beside it about who was there and what made you laugh. Add one strip a week and the album turns into a simple diary, as our photo journal guide shows.
10. Archival Memory Box
The best answer to how to store photo booth strips for many years is an archival memory box. Slide each strip into a PAT-tested sleeve made of polypropylene, polyethylene or uncoated polyester. Those are the plastics the Library of Congress lists as photo-safe. Then put the sleeves in an archival box and keep it in a bedroom closet, not the attic, the basement or near a radiator. The same guide asks for a dry, cool and stable place, at 30 to 50% relative humidity and 70°F or below.
11. Scan and Back Up Every Strip
Scanning your strips gives you copies that can never fade, bend or get lost when you move house. Free apps like Google PhotoScan, or the document scanner in the iPhone Notes app, can capture a strip in a few seconds. If you made the strip on TryPhotoBooth, keep the original 300 DPI download of your photo booth photos as well. Save everything to Google Photos, iCloud or Google Drive in a folder named by date and event, so you can reprint any strip later.
Ideas for Giving Photo Booth Strips Away
Photo booth strips make small, personal gifts because they show a moment the other person was part of. Reprinting a strip costs almost nothing, so you can keep one and give one away. Our photo gift guide has even more ideas.
12. Inside a Card or as a Wedding Thank-You
Tucked inside a birthday card or tied to a present as a gift tag, a strip means more than any store-bought card. Weddings make this idea even better, since you can send each guest the strip they made at your booth with their thank-you note. The With Love layout on TryPhotoBooth suits these notes nicely, and it only takes a minute to reprint.
13. Photo Booth Guest Book
With a photo booth guest book, each guest adds a strip and writes a note beside it. Set out a blank photo booth guest book album, a few pens and a pack of photo corners. Add a small guest book sign that explains the steps. Ask for two copies of every strip, so guests can stick one in the book and take one home. If you run a free booth on a laptop or iPad, place a small printer like the Canon SELPHY CP1500 right next to it. For more setup ideas, read our wedding photo booth guide.
14. Framed Collage or Christmas Ornament
For whoever hosted the party, a framed collage of the whole night makes a thoughtful thank-you gift. During the event, a photo booth display board lets guests pin spare copies in one place. Afterward, arrange the best ones in a large multi-opening frame and write the date on the mat. Around the holidays, you can also roll a strip gently into a clear ornament and hang it on the tree. It looks best with the Christmas frame, and our Christmas photo booth ideas cover more festive frames and props.
How to Make Photo Booth Prints Last
Photo booth prints last longest when you keep them away from light, damp and glue. These five steps show you how to preserve photo booth strips, and each one comes from museum preservation advice.
- Limit light and rotate your displays. NEDCC says light causes permanent yellowing and fading in prints. Keep strips out of the sun and swap them every few months.
- Control the humidity. The Library of Congress recommends 30 to 50% relative humidity and 70°F or below. It also warns against attics, basements and spots near vents.
- Skip tape and glue. The same guide says not to use tape, sticky notes or glue on photographs. It also warns against sticky "magnetic" album pages.
- Use photo-safe sleeves and mats. Look for PAT-tested sleeves, which pass the Photographic Activity Test, and acid-free mats.
- Don't laminate your only copy. Lamination is permanent, so laminate a reprint instead.
Many booth strips also start with an advantage, because they come from dye-sublimation printers. These printers add a clear top layer that protects the dyes from UV light and moisture.
Lost the Strip? How to Reprint or Remake It
You can reprint a lost strip from its digital copy, or remake it in a few minutes if no copy exists. Many booths email a copy of your photo booth strips or share a gallery link, so check your inbox first. Then print the file at home on glossy or matte photo paper, and our photo paper guide explains which paper suits strips best. Many booths print strips around 2x6 inches, so two of them fit side by side on one 4x6 sheet. After printing, you can simply cut them apart with scissors or a paper trimmer. Small printers like the Canon SELPHY CP1500 help here, and Canon says its prints last up to 100 years when kept in an album. If there is no copy at all, gather the same friends and make a new strip with our free online photo booth.
Make Your Next Strip One You'll Want to Keep
The strips people keep for years show a real moment, so the easiest way to fill your walls is to make better strips. Good strips start before you press the button, with a plan for the poses. Try four different poses instead of four copies of the same smile. Let the last frame catch a real laugh or a friend leaning in. Pick a layout and filter that suit the event, such as the Hearts strip for a date night or the Vintage Polaroid for a birthday. Our layouts and frames guide shows every option. Once you have a few photo booth strips worth keeping, pick one idea from this list and give them a proper home this week.
Photo Booth Strips FAQs
How do you display photo booth strips without damaging them?
Use a magnetic sleeve, a strip frame, photo corners or clips on the white border instead of tape, and keep them away from sunny windows.
How do you frame a photo booth strip, and what size frame do you need?
Measure the strip first, because sizes vary, though many booths print around 2x6 inches. Then use a strip-slot frame, an acid-free mat and photo corners.
How do you store photo booth strips so they don't fade?
Store them flat in PAT-tested polypropylene sleeves inside an archival box. Keep the box somewhere cool and dry, around 30 to 50% humidity, never in an attic or basement.
What size are photo booth strips?
Many modern booths print strips around 2x6 inches, so two fit on one 4x6 sheet. Some booths use other sizes, so measure yours before buying a frame.
Can you reprint a photo booth strip if you lose it?
Yes, you can reprint it as long as you still have the digital file. Check your email or the booth's gallery link, or reprint your saved 300 DPI download from TryPhotoBooth.
Is washi tape safe to use on photo strips?
Washi tape is gentle, but it is still an adhesive, and the Library of Congress advises against adhesives on photos. Stick it to the frame or backing card instead.
Keep Reading
If you liked these ideas, these guides from our blog will help you next.
Ready to try this in your browser?
Launch our free 3D studio, test out vintage filters, and save your photo strip instantly.