Wedding Photo Booth Ideas That Do Not Need a Rental Company
Discover simple wedding photo booth ideas you can set up without a rental company. Learn about DIY setups, lighting, backdrops, digital sharing, and more.
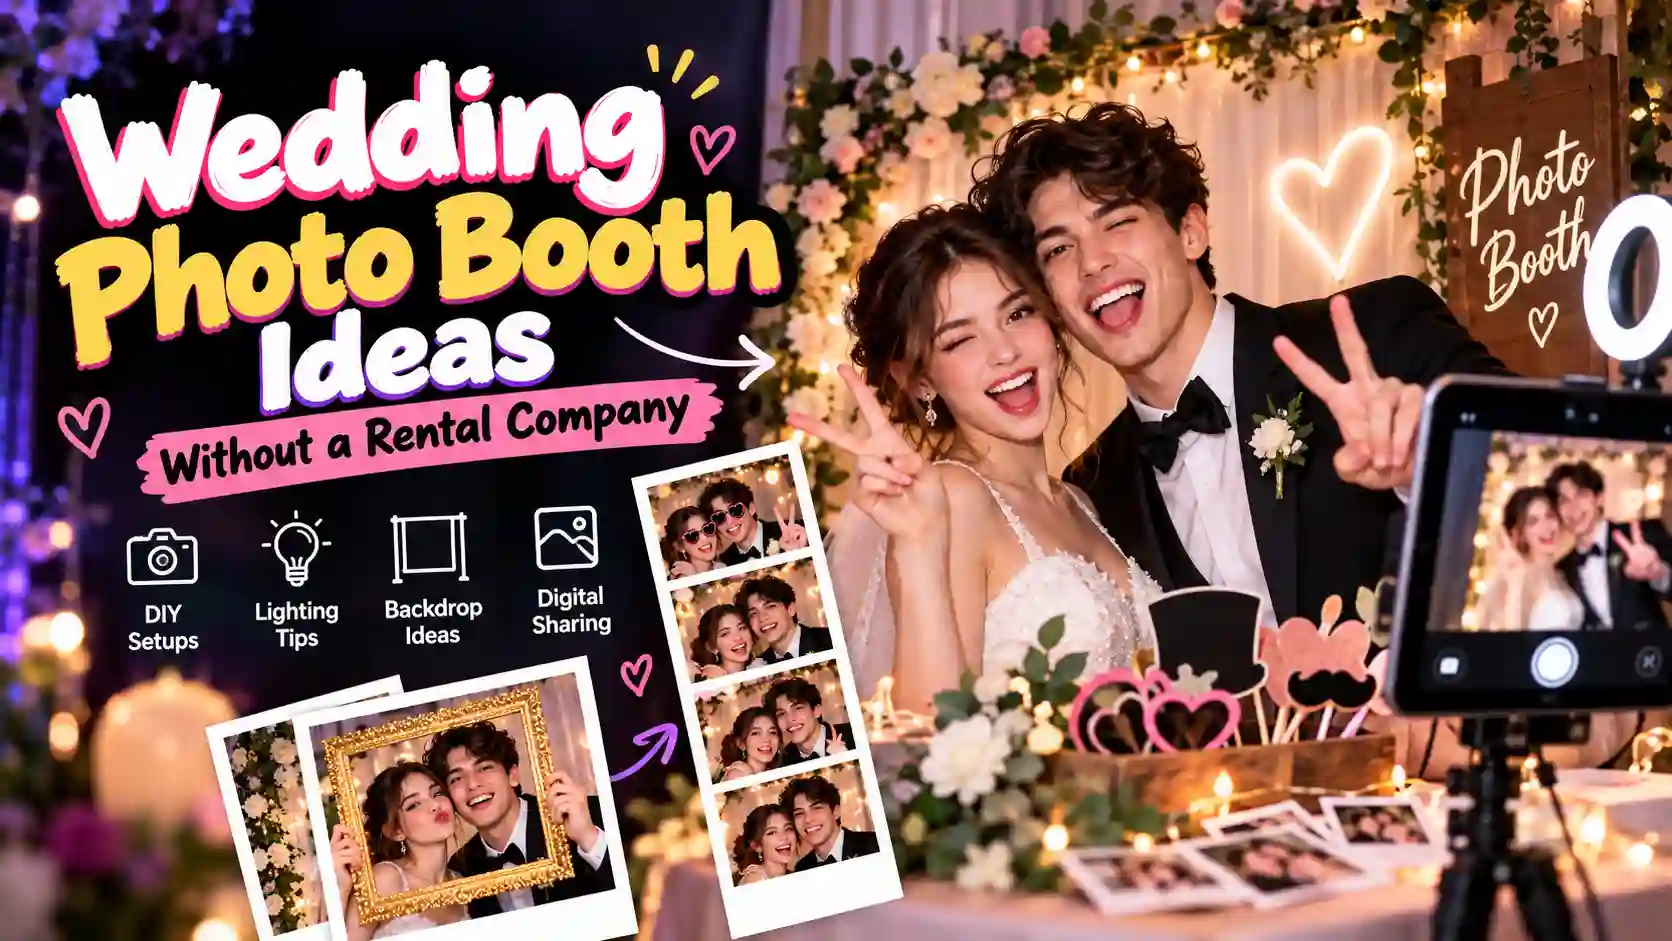
Wedding photo booths can be a fun part of the reception, but hiring one is not always cheap. Depending on the package and rental time, the cost can quickly become another major item on the wedding budget. The good news is that you do not need a rental company to make a photo booth work. What matters most is where you place it, how you light the space, and whether guests know what to do when they get there.
There are several simple ways to build your own setup, from a basic backdrop and phone station to a tablet or browser-based booth. Each option has different costs, space requirements, and setup needs. This guide covers five practical ways to create a wedding photo booth without a rental company, along with the common mistakes that can make even a good setup disappointing. By the end, you can compare the options and choose one that fits your wedding, venue, and budget.
5 Ways to Run a Wedding Photo Booth Without a Rental Company
Every option works without a rental company, but each fits a different wedding setup. The table gives a quick comparison, while the notes explain the main differences.
Backdrop-Only Station
Set up a simple backdrop, add good lighting, and let guests use their own phones. It is the cheapest option, but guests need someone to take their photos.
iPad or Tablet Booth
Put a tablet on a tripod with a ring light and use a booth app. Guests can take several photos and share the finished strip digitally.
Browser-Based Booth
Use a laptop or tablet camera with a browser-based photo booth. Guests do not need to install an app. You can try a browser-based setup at tryphotobooth.com and test the device and sharing features before the wedding.
QR-Code Guest Album
Guests scan a QR code and upload their photos to one shared album. It works alongside any booth and keeps photos from being scattered across different phones.
Instant-Film Station
Use an Instax or Polaroid camera to give guests physical prints immediately. The main cost is the camera and film, and each photo adds to the total cost.
| Option | Cost | Effort | Main Risk |
|---|---|---|---|
| Backdrop only | Low | Low | No prints |
| Tablet booth | Medium | Medium | Lighting or software |
| Browser booth | Often free | Low | Weak signal or battery |
| QR album | Free | Low | Guests forget to upload |
| Instant film | Camera + film | Medium | Running out of film |
Put It Where People Already Walk
Where you put the booth can matter more than the equipment itself. A great-looking booth in a quiet corner may get little attention, while a simple setup on a busy path can stay active all night.
The Best Spots
Think about where guests naturally move during the reception. Areas near the bar, tables, dance floor, restrooms, or exit usually work well because guests can see the booth as they move around. Spot near the bar or just outside the dance floor is especially useful. Guests can notice others using it and join in without needing someone to invite them.
Where Booths Go to Die
Avoid putting the booth behind the DJ, inside a side room, or somewhere guests need to climb stairs to reach. People rarely go looking for a photo booth, so an out-of-the-way setup can quickly become forgotten. Keep it away from loud speakers too. When guests cannot hear each other clearly, getting a group photo becomes harder, and they may simply give up.
Space and Queue Room
Few people will usually gather around the booth while others wait for their turn. Leave enough space for a small group without blocking the bar, tables, or main walkway. If the booth gets in the way, someone may move it during the reception. That can leave you with a worse location and fewer guests using it.
Outdoor, Daytime, and Dark-Venue Adjustments
For outdoor weddings, place guests in open shade instead of direct sunlight. This gives softer light and makes the screen easier to use. In a dark reception room, bring your own light rather than relying only on venue lighting. Keep a nearby power outlet or a long extension cord ready so the booth can keep running throughout the event.
Lighting Beats Equipment
A cheap camera in good light will beat an expensive camera in bad light. Wedding venues are usually lit for atmosphere, which means dim, warm, and mostly overhead lighting that can make photos look worse.
Why Overhead Light Makes People Look Tired
Light from above creates shadows around the eyes and under the nose. That can make people look tired in reception photos, even when they are smiling. Light coming from in front of the face, around eye level, helps fill those shadows.
Cheap Fixes: A Lamp, Ring Light, or Softbox
You do not need a studio setup. A floor lamp with the shade removed, a ring light, or a softbox placed in front of guests can improve the lighting. Keep the light around face height to reduce harsh shadows.
Ring Light vs Softbox for Groups
A ring light works well for one or two people. For groups of four to eight, a softbox can spread light across a wider area and keep more faces evenly lit.
Windows and Daytime
Avoid putting the backdrop directly in front of a window. Bright light behind guests can turn them into dark silhouettes, so place the window beside or behind the camera instead. Even during the day, a ring light can help fill unwanted shadows.
Backdrop: Simpler Than You Think
A backdrop only needs to look good behind your guests. Once three or four people step into the frame, most of the background disappears anyway.
What Works
A plain wall is often enough, but hung fabric, fairy lights, or some greenery can make the space feel more finished. Fabric on a curtain pole is cheap, easy to pack, and still looks planned. A simple tinsel curtain can also work when you want a budget-friendly option.
How Big It Should Be
Make the backdrop a little bigger than you think you need. Around 8 by 8 feet gives adults enough room to move without pushing the edges into the frame.
A backdrop that is too small can become noticeable when several guests stand together, especially in wider group photos.
What to Avoid
Skip busy patterns, large text, and strong designs that compete with people's faces. Shiny vinyl can also reflect the lighting and create unwanted bright spots in the photos.
Reusing Your Ceremony Backdrop
If you already have a backdrop from the ceremony, move it to the reception instead of buying another one. It gives you a second use for the same decoration and can save both money and setup time.
Layout and Frame Choices
Layout decides how many photos appear on each strip and what border goes around them. It is worth choosing this before the wedding so your booth is ready when guests start using it.
Why the Four-Panel Strip Works
A four-photo strip is a popular choice for weddings because it gives people time to loosen up. The first photo is usually a simple pose, but by the fourth one, someone is often laughing, making a funny face, or getting closer to the group. That small progression is what makes the strip fun to keep. A single photo gives guests only one chance to pose, so the result can feel more formal and less natural.
Other Layouts and When They Suit
A three-photo strip works well for couples or older guests who may not want to go through four different poses. It keeps the experience short while still giving them a small sequence to enjoy. A six-photo grid is useful for larger groups who want to fit everyone into one design. If you prefer something simpler, a single framed photo is closer to a traditional instant print and works especially well when guests are adding photos to a guest book.
Matching the Frame to Your Wedding Style
The frame does not need to be complicated. A simple border that matches your wedding colors can make the strip feel connected to the rest of the event. Keep any text short, such as the couple's names and wedding date. Too much text can make the print look dated later, while a clean design is easier to enjoy years after the wedding.
Filters and Editing Styles That Age Well
Wedding photos are something people may look back at for years, so simple filters usually work better than heavy effects. A filter should improve the photo without making it feel tied to one particular trend.
Safe Defaults
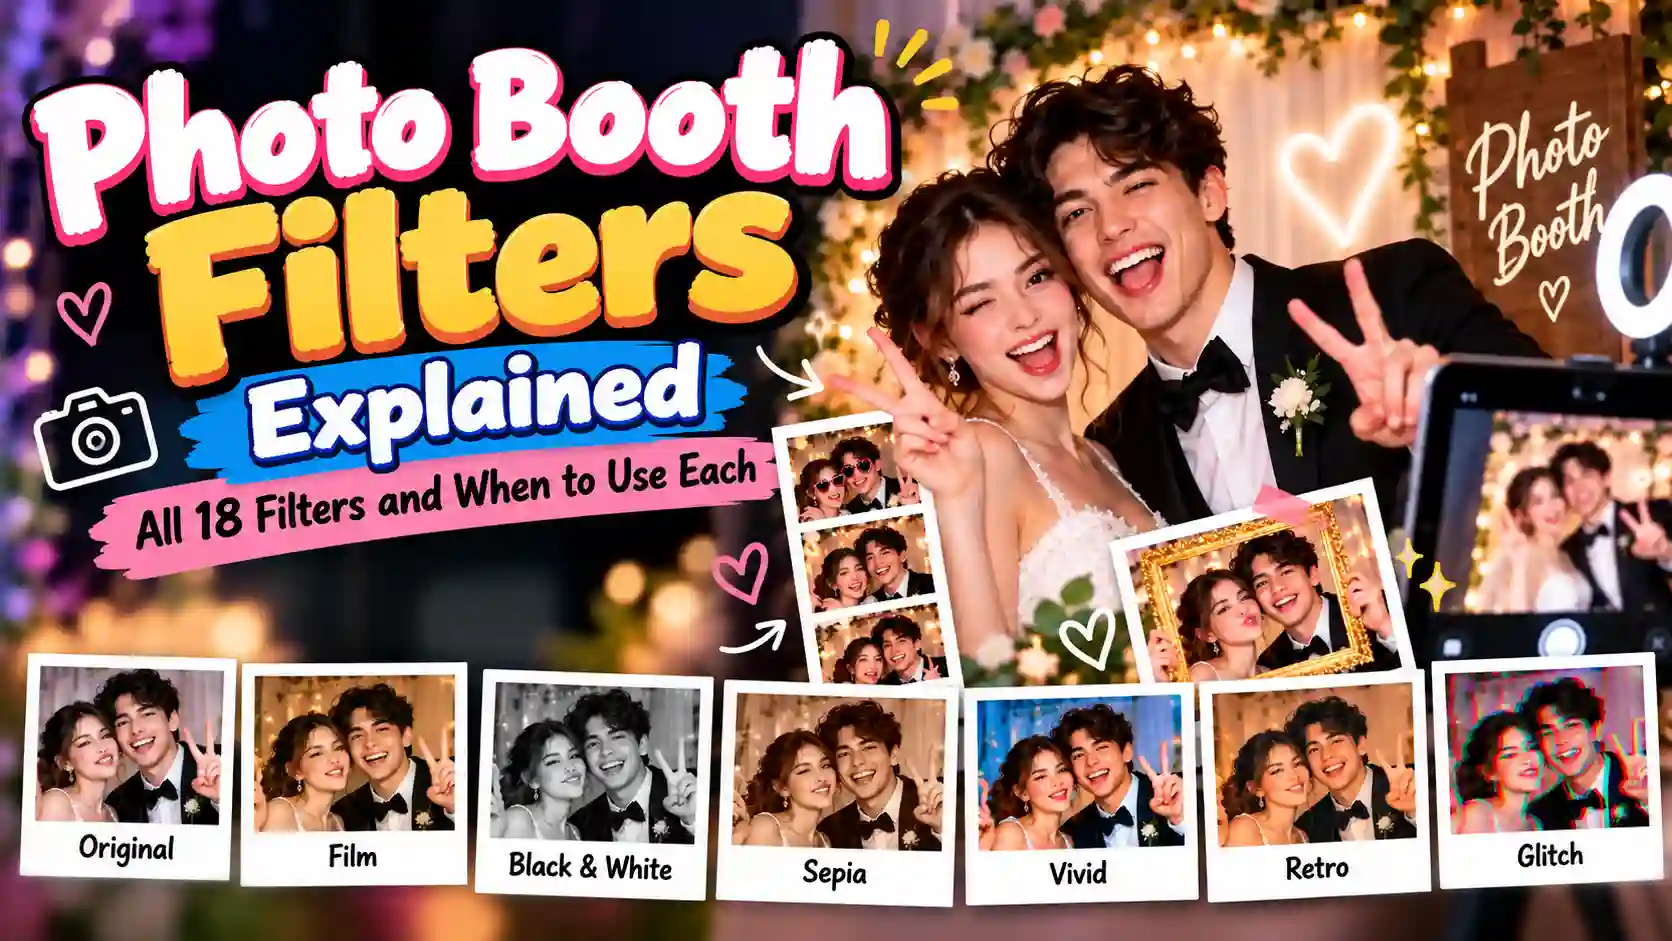
Film is a safe choice for most weddings because it adds a soft, subtle look without changing the photo too much. A warm or lightly faded style can also work well, especially when you want the photos to feel relaxed and natural. For outdoor afternoon or garden receptions, a soft warm filter can add a little more color. Stronger golden tones can work for evening photos, but check them against a white wedding dress first. Too much warmth can make white clothing look yellow.
The Rescue Option When Venue Light Is Bad
Black and white is useful when the venue has mixed colored lighting. Warm bulbs, uplighters, and different light sources can create strange skin tones, while black and white removes those color differences. It also gives the whole set a more consistent look when the venue lighting is difficult to control.
Skip the Novelty Effects
Glitch, thermal, CCTV, and night-vision effects can be funny for one photo, but they can look out of place across a wedding album. If you want something playful, use it on one panel or one strip instead of making it the main style. The same idea works for decorative effects such as hearts. One small effect can add personality without taking over every photo.
Give People a Reason to Use It
Many guests freeze when they face a camera without knowing what to do. A little direction makes it easier to step in and is one of the simplest ways to get more use from your wedding photo booth.
Use Prompt Cards
Place a small card beside the booth with a prompt that takes only a few seconds to follow. Try ideas such as "Pose like a movie poster," "Copy the couple's engagement photo," "Freeze mid-dance," or "Whisper a secret to the person beside you."
Keep a few different prompts nearby so guests who return to the booth have something new to try. The goal is not to give instructions, but to give people an easy idea when they do not know how to pose.
Display a First Strip as a Demo
Take the first strip yourselves before guests arrive and place it beside the booth. It shows people how the booth works and also makes it clear that silly poses are part of the fun.Simple examples can remove the hesitation that comes with being the first person to use the booth.
Keep a Small Prop Box
Few good props are usually more useful than a large pile. Sunglasses, a hat, and a couple of simple signs can give guests something to hold without making them dig through a messy box. You can also use printable props if you want an affordable option that is easy to prepare before the wedding.
Get Someone to Start the Booth
Ask a few outgoing friends or members of the bridal party to use the booth early in the reception. Once a few groups have taken photos, other guests are more likely to join without needing someone to remind them.
What Happens to the Strips
Plan what happens to the photos before the wedding. Otherwise, they can stay on the booth device or end up scattered across guests' phones.
Create a Shared Album With a QR Code
Create a shared album in Google Photos or iCloud before the wedding. Turn the album link into a QR code with a free generator and place it on a card beside the booth. Guests can scan the code and add their photos in a few taps. You may not get every photo from every guest, but it gives everyone an easy place to share their strips.
Use a Portable Printer and Guest Book
If you want physical copies, place a small portable printer near the tablet. Keep a guest book and glue stick beside it so guests can print a strip, stick it in the book, and write a short message underneath. You can also create a memory wall by pinning printed photos near the backdrop. This gives guests another simple way to display their photos during the reception.
Offer Digital-Only Delivery
You do not need a printer if you prefer to keep everything digital. Depending on the booth setup, guests can send photos by AirDrop or text after taking them. If you want to understand the browser-based option in more detail, read our guide on what an online photo booth is and how it works. Check the mobile signal or Wi-Fi at the exact booth location before the wedding. A connection that works well in another part of the venue may not be reliable where the booth is placed.
Send the Album Link Again After the Wedding
Keep the QR code available during the wedding so guests can add their photos while they are still there. Then send the album link again with your thank-you message. This gives guests another chance to upload photos they forgot to share on the wedding day.
What a DIY Booth Really Costs
DIY does not always mean free. Your final cost depends mostly on what you already have and what you still need to buy.
Gear You May Need
A basic DIY setup can include:
- A tablet or phone with a tripod or stand
- A ring light, softbox, or suitable floor lamp
- A backdrop and stand, or a wall with some fabric
- A booth app or browser-based booth
- An extension cord and tape to secure it
- A small prop box
- A portable printer if you want physical copies
You do not need every item on the list. If you already have a tablet, lamp, stand, or suitable backdrop, your setup can cost much less.
Free vs. Bought
Some DIY booths can be built mostly from equipment you already own. A browser-based booth can also reduce the need for dedicated booth software, while a simple wall or fabric backdrop can replace a more expensive backdrop system.
Buying everything from scratch costs more. A quality light, tripod, backdrop stand, props, and software can quickly add up, so check what you already have before buying anything.
Keep Your Budget Flexible
The cheapest setup is not always the easiest one to use. Spending a little more on reliable lighting, a stable stand, or a simple printer can make the booth easier to run throughout the wedding. Prices also vary by country, store, and equipment quality. Compare local options before deciding how much you want to spend.
Setup Mistakes to Avoid
Most DIY booth problems are easy to prevent if you test everything before the wedding. Give yourself enough time to find and fix small issues before guests arrive.
Power and Battery
A dead tablet is one of the easiest problems to prevent. Keep the tablet plugged in during the reception and bring the charger with you. Secure the extension cord with tape so guests do not trip over it or accidentally unplug the booth.
Wi-Fi and Software Problems
If your booth depends on the internet, check the connection at the exact spot where you plan to place it. A strong signal in another part of the venue does not guarantee the same connection near the booth. Test the booth for at least an hour before the wedding. Open the camera, take several photos, check the sharing options, and make sure everything works without interruption.
Tripods and Tipping
Guests will move around the booth and may accidentally bump the stand. Use a stable tripod and keep the tablet securely attached. If your booth app has a kiosk mode, turn it on so guests cannot accidentally leave the booth screen. Most importantly, test the tablet mount before the wedding rather than discovering that it does not fit on the day.
Day-of Checklist
Before guests arrive, check these basic items:
- Charge the tablet and pack the charger.
- Test the lighting in the reception room.
- Take a practice strip with several people.
- Put out the prompt cards and first sample strip.
- Test the album link and QR code.
- Check the Wi-Fi if your booth needs it.
- Make sure the tripod and tablet mount are secure.
- Decide who will reset the booth if something goes wrong.
A few minutes of testing can prevent small problems from turning into a booth that nobody can use.
Hiring Versus Doing It Yourself
Both choices are reasonable. The better fit depends on your budget, guest count, and how much you want to handle during the wedding.
What Hiring Costs
Booking data puts a typical event around $677, with many bookings falling between $475 and $999. Wedding-focused guides can be higher, with prices around $1,000 to $1,500 for three to four hours. The type of booth also affects the price. Classic open-air booths can cost less than 360, glam, or mirror booths, which usually come with more equipment and features.
Check the Hidden Costs
The advertised price is not always the final price. Before booking, ask whether setup and tear-down, travel, insurance, and other service fees are included. Check the contract carefully as well. Some vendors require a deposit, often a percentage of the total booking cost. If you are booking several hours, ask whether there is a lower rate for periods when the booth will not be used, such as during dinner.
Hired Booth vs DIY Booth
| Feature | Hired Booth | DIY Booth |
|---|---|---|
| Cost | Roughly $475 to $1,500 | Under $150 if you own the gear, up to $500 if you buy it |
| Prints | Usually included | Requires a printer you supply |
| Attendant | Usually included | You or a guest handles it |
| Setup | Vendor handles it | You build and test it |
| Main risk | Cost and contract terms | Power, signal, or software problems |
When Hiring Makes Sense
Hiring can make sense if you want instant prints, someone to keep the booth running, and no setup work on the wedding day. It can also be useful for a large guest list where a single tablet might create longer waiting times.
When DIY Makes Sense
A DIY booth can work well if you would rather spend the money elsewhere and have enough time to prepare it. You will need to handle the setup, testing, power, and any problems that appear during the event. For more practical ideas, read our guide on how to get a photo booth without hiring a company. Whichever option you choose, test everything before guests arrive. If you are running the booth yourself, keep the tablet plugged in so a dead battery does not stop the booth halfway through the reception.
Which Option Fits Your Wedding?
The best setup depends on your venue, guest count, and how much work you want to handle. These examples can help you match the booth to your wedding.
- Small garden wedding with daylight: A simple backdrop station with a QR album can be enough. You may not need much extra lighting if the area already has good natural light.
- Mid-size reception in a dim hall: A tablet booth with a softbox near the bar gives guests an easy place to find it. Add a portable printer if you want physical photos for a guest book.
- Large ballroom with many guests: One booth may create long queues. Consider two stations or a hired booth, and add a QR album so guests have another way to share photos.
Frequently Asked Questions
How much does it cost to hire a wedding photo booth?
Booking data shows a typical rental around $677, while wedding-focused guides quote $1,000 to $1,500 for three to four hours. Prices depend on the booth type, hours, travel, and your region, so get itemized quotes.
What do I need to set up a wedding photo booth myself?
You need a tablet or phone, a stand, a light, a backdrop, and a booth app or browser booth. Add an extension cord and a small prop box. A printer is optional.
Where should the photo booth go at a wedding reception?
Put it along a route guests already walk, such as between the bar and the tables. Leave room for a small crowd, and avoid the area behind the DJ or any side room.
What layout works best for wedding photo strips?
A four-photo strip is the most popular choice because it lets guests relax between poses. Use three photos for a more formal look, or a six-photo grid for big groups.
How do we collect the photos guests take?
Create a shared album in Google Photos or iCloud before the wedding, and print the link as a QR code beside the booth. Send the link again afterward in a thank-you message.
Can guests use a photo booth without downloading an app?
Yes, if you use a browser-based booth, because guests just open a web page. Test it on your device and venue signal first.
What is the cheapest alternative to a photo booth?
A backdrop-only station with a good light, plus a free shared album. Guests use their own phones, so you only pay for materials.
Do guests actually use QR upload?
I could not find independent data on this. Put the code where guests will see it, such as on a card at the booth and on the tables, and mention it in a short announcement.
Does a DIY booth work outdoors?
Yes, if you place it in open shade and keep power within reach. Direct sun causes squinting and harsh shadows, and a screen is hard to read in bright light.
Final Word
The best wedding photo booth ideas come down to a few simple things: a good spot, good light, a reason for guests to step in, and a plan for the photos afterward. Pick the setup that fits your venue and guest count, then test everything before the wedding day. Decide early whether you want digital photos, printed strips, or both. You do not need complicated equipment to make it work. Get the basics right, and a simple setup can give your guests just as many fun moments to remember.
Ready to try this in your browser?
Launch our free 3D studio, test out vintage filters, and save your photo strip instantly.